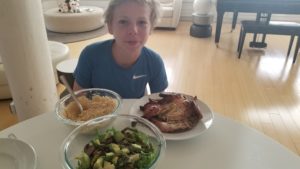
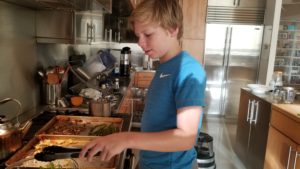
Hi! Welcome to kidscookdinner.com. We’re Max and Alex Koster and this is our blog where we talk about cooking and eating and try to encourage kids to cook. (Alex is at sleepaway camp till August so I (MAX) am in charge of kids cooking and the blog.) Tonight I wanted to try out making spatchcocked chicken. I also wanted to roast some vegetables that were in our fridge and needed to be cooked or eaten (or both) so I roasted cauliflower, asparagus and mushrooms and tossed them into a bowl with arugula and avocados. I also made some couscous to go on the side.
SpatchCock Chicken
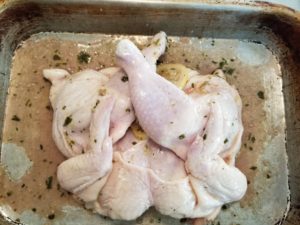
Ok so to spatchcock chicken, you have to cut out its back bone (do this with the chicken breast side down, back bone up). Then you have to put the heel of your hand on the chicken and push down to flatten the chicken. This allows the chicken to cook faster and more evenly. But you have to be ok handling a whole chicken…and cutting it up.
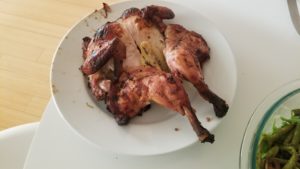
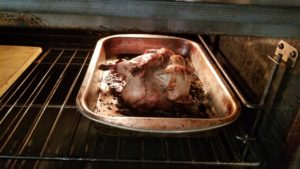
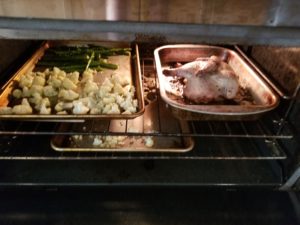
After I did that, I put the chicken in a zip lock bag along with olive oil, lemon, rosemary, garlic and salt and pepper and let it marinade in the fridge for a couple of hours. Then I preheated the oven to 375 degrees and cooked it for about an hour, flipping once. (It needs to be golden brown)
Roasted Veggie Salad
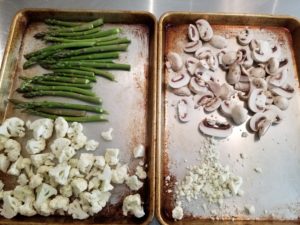
To make this, I chopped up cauliflower, aspargus and mushrooms, tossed them in olive oil and salt and pepper and then put them in the oven on sheet pans with the chicken (but I put them in after the chicken had cooked 30 minutes: the veggies need at most 20-30 minutes). After 15 minutes, I flipped over the veggies so they would get evenly brown.
CousCous
OK this is pretty easy: just remember with cous cous, the ratio of liquid to cous cous is 1:1 so if you want a cup of cous cous, boil a cup of water, remove from heat, stir in the dry couscous and let sit, covered, for 5 minutes. (It’s ok if you put a little more than 1 cup of water in because some usually evaporates). Anyway, after 5 minutes, fluff the cous cous with a fork. Don’t forget, otherwise the cous cous can get sort of caked together. I like to add a little butter as well.
And so here is the final meal: